For best viewing experience, watch in full screen mode with sound.
After daily tuning is complete and a passing result is achieved, the instrument is ready to run samples.
An Acquisition Protocol contains the list of samples you want to run and the corresponding settings for each sample. Use Acquisition Manager to create and manage Acquisition Protocols.
In this Topic Hide
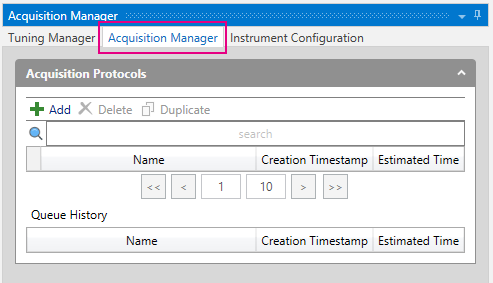
1 Click the Acquisition Manager tab.
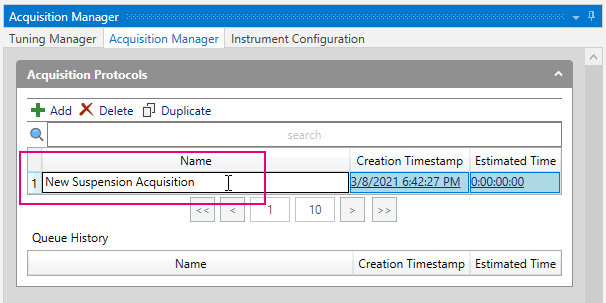
2 On Acquisition
Manager, click  to
add a new Acquisition Protocol.
to
add a new Acquisition Protocol.
3 Enter a protocol name.
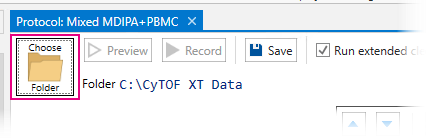
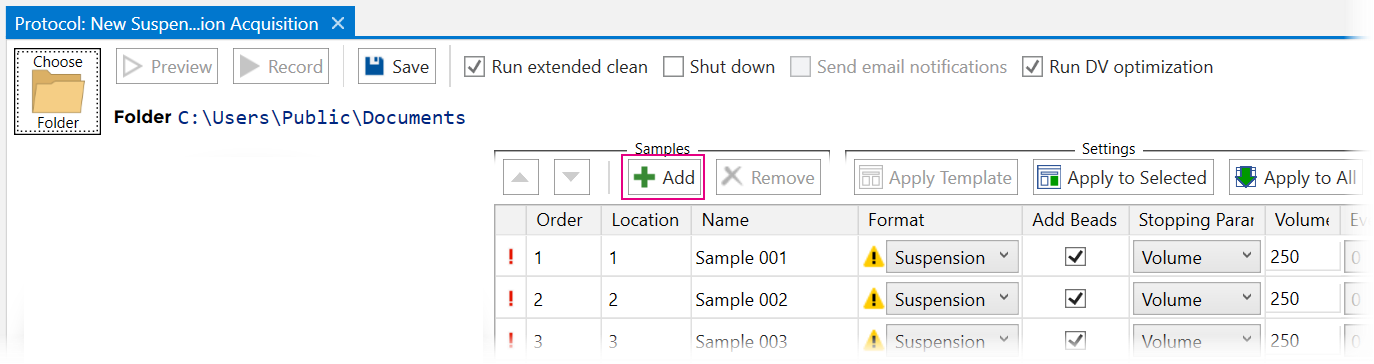
4 (Optional) On the Acquisition Protocol, click Choose Folder to choose a directory to save your acquired data files. If you do not choose a directory, the default data directory is used. For more information, see Set the Default Data Directory.
IMPORTANT Do not acquire data to a network location. The effect of network latency may cause acquisition interruption and data loss.
1 On the
Acquisition Protocol, click to add up to 13 samples to the table. (Locations
1–12 hold 5 mL tubes and Location 13 holds a 15 mL tube.)
NOTE If
your batch includes a 15 mL sample in Location 13, acquire it first. Prolonged
delay may result in cell settling. Use the up arrow to move it from the
end of the list to the top of the list.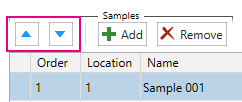
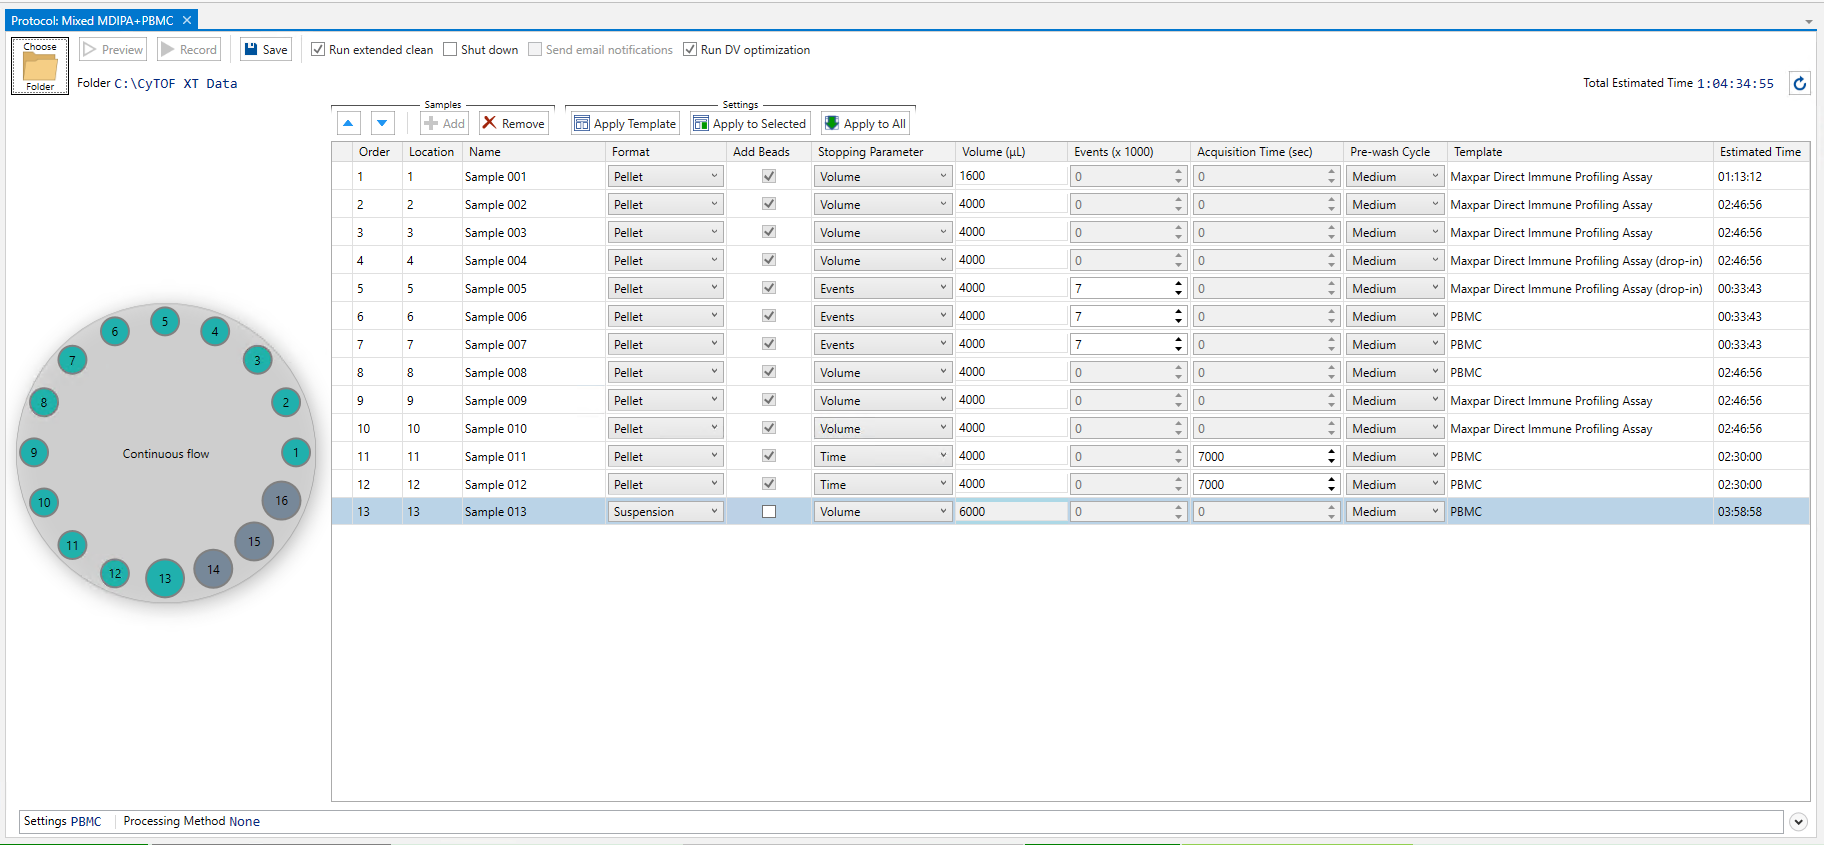
2 Enter settings for each sample.
Setting |
Description |
Location |
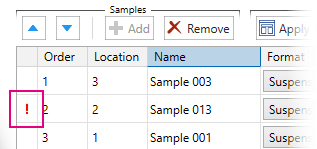
This value is automatically populated based on available carousel locations. If needed, you can modify this value. Choose the number that corresponds to the location of your sample in the carousel. If you enter a location that is already assigned, the value is reset to 0 and the Location field is highlighted. NOTE • For visual reference, the assigned locations are highlighted on the carousel graphic. • Carousel locations cannot be replicated during initial batch setup.
|
Name |
Enter a name for your sample.
|
Format |
Choose Suspension for cell samples that contain suspension solution and require mixing. Choose Pellet for pelleted samples that require the addition of Maxpar Cell Acquisition Solution Plus (CAS Plus) for suspension.
|
Add Beads |
When selected, the Autosampler adds EQ Calibration Beads to your sample prior to injection. Data from analyte channels are normalized using the signal from bead channels. This setting is always selected for pelleted samples and selected by default for suspended samples.
|
Stopping Parameter |
Choose a parameter—Volume, Events, or Time—to determine when sample acquisition will stop. NOTE When using Events as the Stopping Parameter, enter the cell count for a more accurate acquisition time estimate. Under FCS Keywords, in the Cell Count field, enter the cell count of each sample. Cell Count is reset when a template is applied. Enter cell count after applying a template.
|
Volume (μL) |
• Suspended samples that require addition of EQ Calibration Beads: Enter the sample volume plus 10% to account for the volume of beads added by the system. • Pelleted samples: Enter the resuspension volume. The system will adjust CAS Plus volume to accommodate EQ Calibration Beads. If Volume is selected as the Stopping Parameter, acquisition stops after the sample volume is acquired. NOTE An additional 12 µL is added to the final loop volume to account for the Autosampler Nebulizer Line (117784), so the total injection volume is Volume + 12 µL.
|
Events (x 1000) |
If Events is selected as the Stopping Parameter, enter the number of events you want to acquire.
|
Acquisition Time (sec) |
If Time is selected as the Stopping Parameter, enter the amount of time (in seconds) that you want to acquire.
|
Pre-wash Cycle |
The pre-wash cycle runs before the sample is acquired. Consider the previously run sample when choosing a pre-wash cycle. Choose either: • None • Light: CAS Plus rinse only • Medium: Washing solution, followed by CAS Plus rinse • Heavy: Washing solution with pulsing to clear the nebulizer, followed by CAS Plus rinse The default setting is Medium. NOTE CyTOF Administrators can modify the wash duration settings on the Autosampler tab (on Hardware Configuration, click Autosampler). For more information, see Autosampler Settings.
|
Template |
Select a Template to define the acquisition settings for your sample.
|
A Template contains the sample acquisition settings and the channel list. A Template must be applied to each sample. You do not need to apply the same template to each sample.
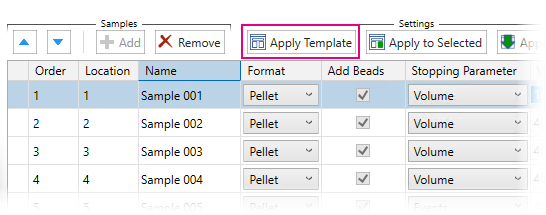
To apply a template
1 Click to select the samples you want to apply the same Template to.
NOTE Press Ctrl + click or Shift + click to select multiple rows.
2 After the samples are selected, click Apply Template or right-click to display a context menu and click Apply Template.
3 In Template Editor, choose the template you want to apply. If you do not have an appropriate template for your samples, create one:
a In Template Editor, click  .
A new template is added to the list.
.
A new template is added to the list.
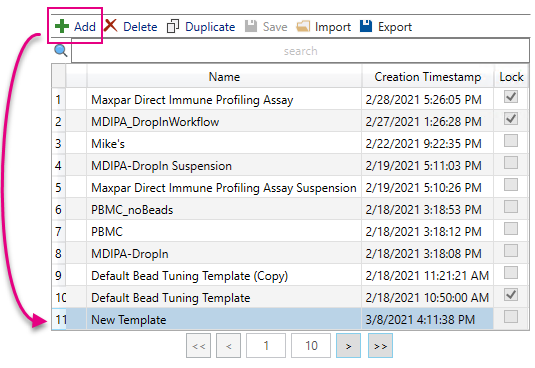
b Enter a name for the new template.
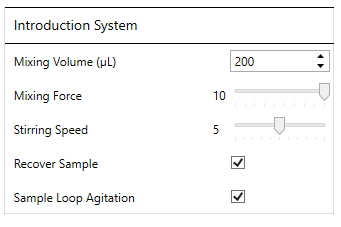
c Verify that the Introduction Settings are correct for your samples. The default settings are recommended.
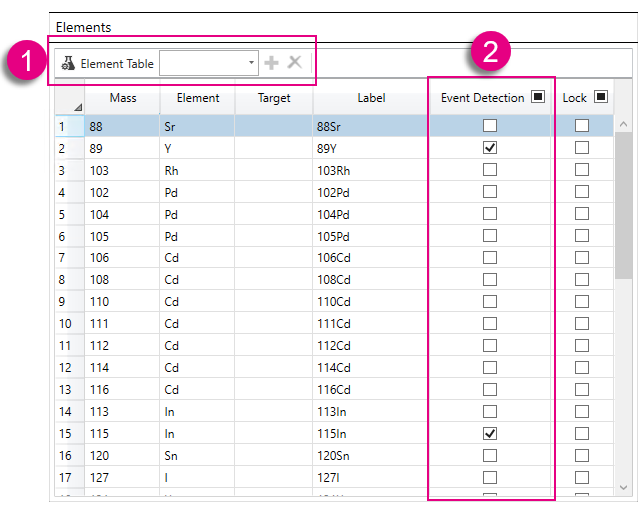
d Add the channels you want to acquire to the Element list. To choose elements, (1) click Element Table or (2) use the drop-down list, then check the channels you want to use for event detection.
NOTE Bead channels are included in new templates and are selected for event detection by default.
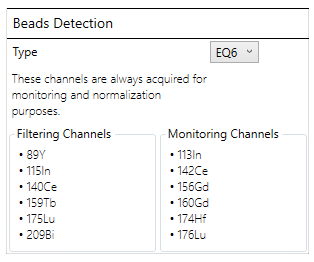
Under Beads Detection, EQ6 is selected by default. This setting is recommended unless you are using EQ4 Calibration Beads as an internal standard or acquiring samples prepared with the Maxpar® Direct™ Immune Profiling Assay™.
No changes are required to the Acquisition System section.
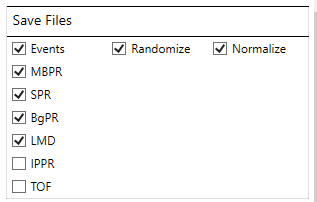
e Under Save Files, use the default selection or, at minimum, select:
• Events, Randomize, and Normalize
• This produces a processed FCS file (the file name is appended with _Processed) for downstream analysis and an unprocessed FCS file.
• LMD
• This produces a raw data file that replaces the IMD files generated by earlier versions of CyTOF Software.
For more information about File Types, see File Types.
f Click Save.
4 Click Apply.
The Template field for the selected samples displays the name of the applied Template.
NOTE This feature copies all acquisition settings shown in the row and the Template.
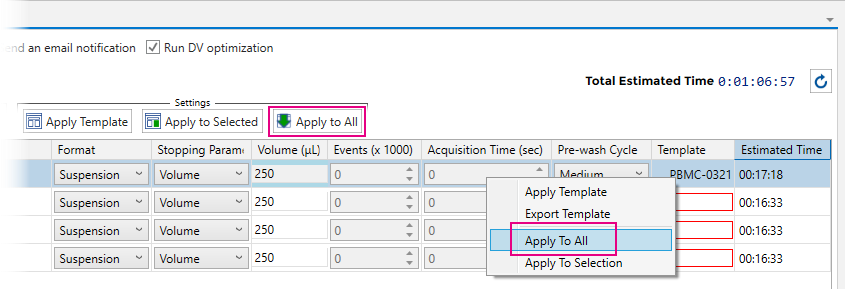
To use the same acquisition settings for all the samples in the batch
1 Enter the settings for one sample.
2 Click
to select the row that contains the settings, and then click Apply
to All or right-click to display a context menu and then click
Apply to All.
To use the same settings for some of the samples in the batch
1 Enter the settings for one sample.
2 Click that row to select it, and then press Ctrl + click to select the samples you want to apply those settings to.
3 Click Apply to Selected.


• Check Run extended clean to run a heavy wash cycle after the last sample in the batch is acquired. A medium wash cycle is run when Run extended clean is not selected. Run extended clean is selected by default and cannot be disabled by CyTOF Users.
• Check Shut down to set CyTOF XT system to idle after acquisition and cleaning are complete. This includes extinguishing plasma.
• Check Send email notifications to receive email at the address associated with the active CyTOF Software when clogs are detected and removed, and after batch acquisition is complete or if the batch stops for another reason.
NOTE The Send Email Notifications option is available only when email settings are configured for the active account. For more information, see Configure Email Notifications.
• Check the Run DV optimization box to automatically optimize the detector voltage to reduce signal drift during long runs. Detector voltage is optimized between each sample loop.
Click Save to save the Acquisition Protocol to Protocols list in Acquisition Manager.
NOTE If validation errors are displayed, move the mouse pointer over to see the error description. Make the recommended corrections to clear the error and save the changes to the Acquisition Protocol. Acquisition Protocols with validation errors cannot be submitted to the Queue.